Recently we bought a small dehumidifier to try and keep the moisture levels under control in our basement. We went with a fairly cheap one just to see how we’d get on with it. Amazon let us know that it was a frequently returned item, so that really inspired confidence.

It’s been running for a few weeks now, slurping up moisture out of the air, and it seems to be working perfectly. The only issue we have is that we tend not to notice once it fills with water and shuts itself off as we don’t use the basement that frequently.
Obviously this is the sort of issue that could be solved by just checking on it more frequently, but I’ve been wanted to get my soldering iron out again and this seemed like the perfect oppurtunity.
Hardware
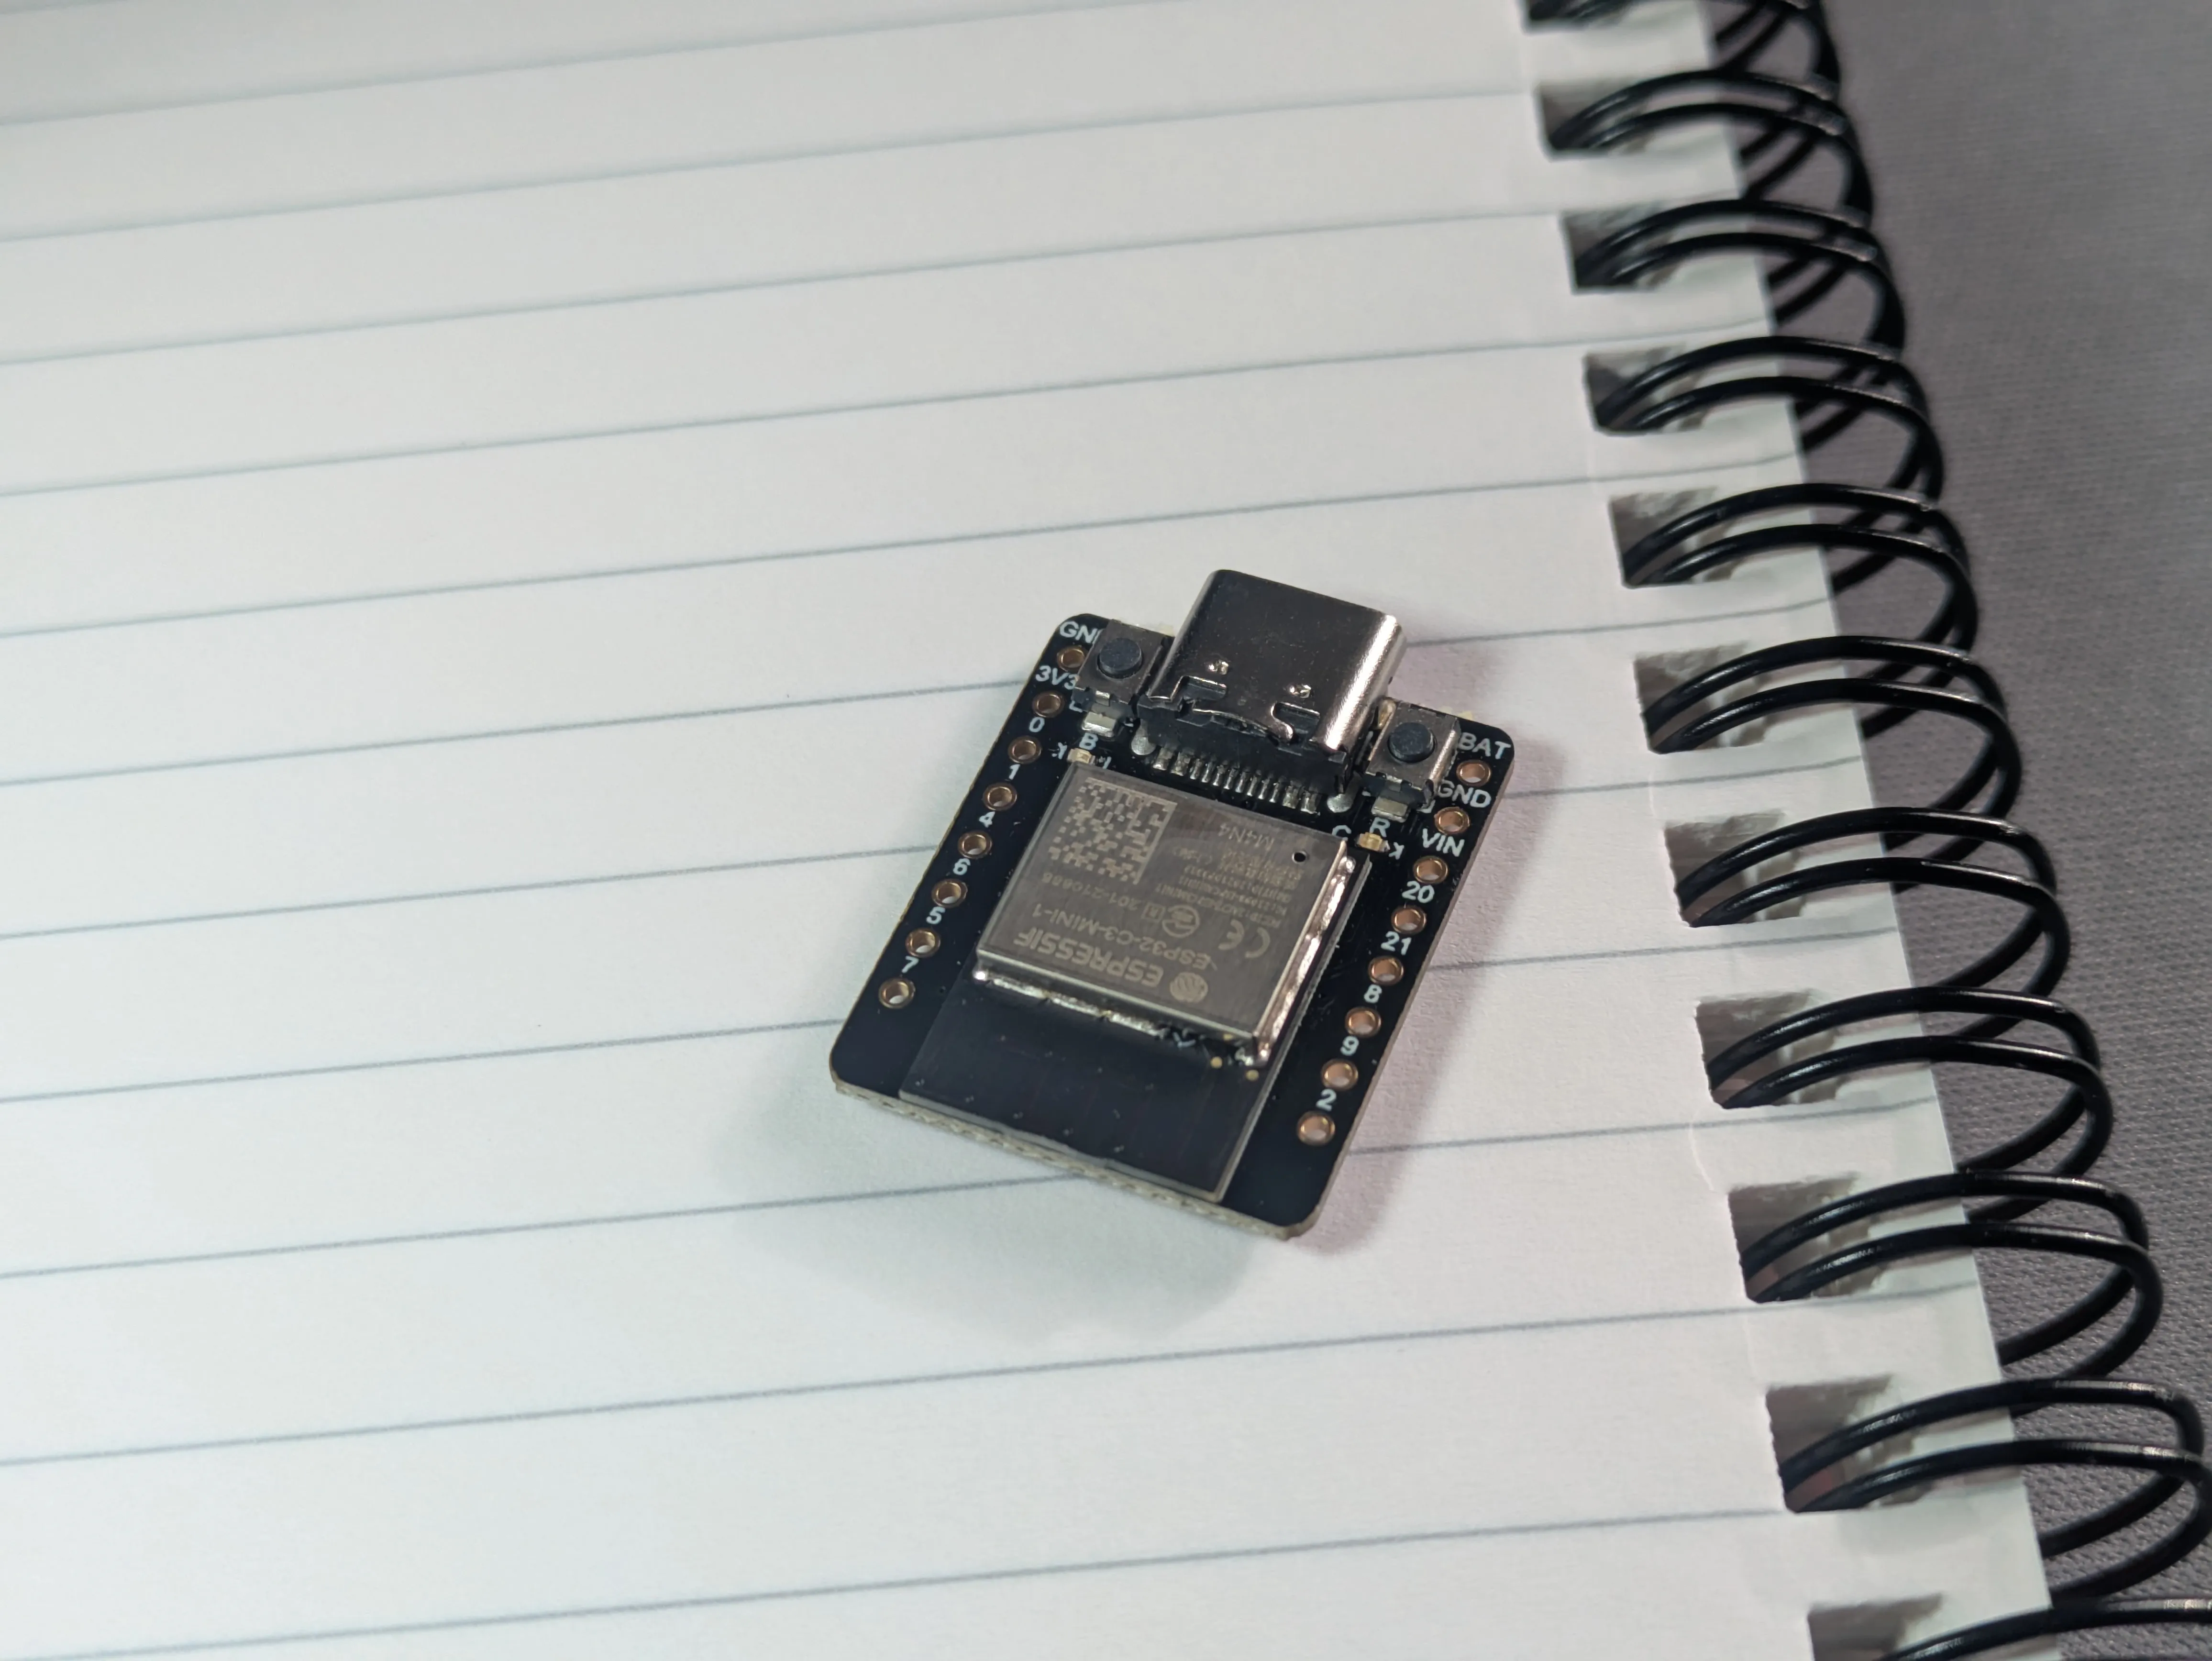
I rummaged through my drawers to find something suitable and came across a Beetle-esp32-c3 that I had left over from another project. I knew that the software side would be fairly simple with ESPHome and Home Assistant, and I thought the hardware would be similarly easy.
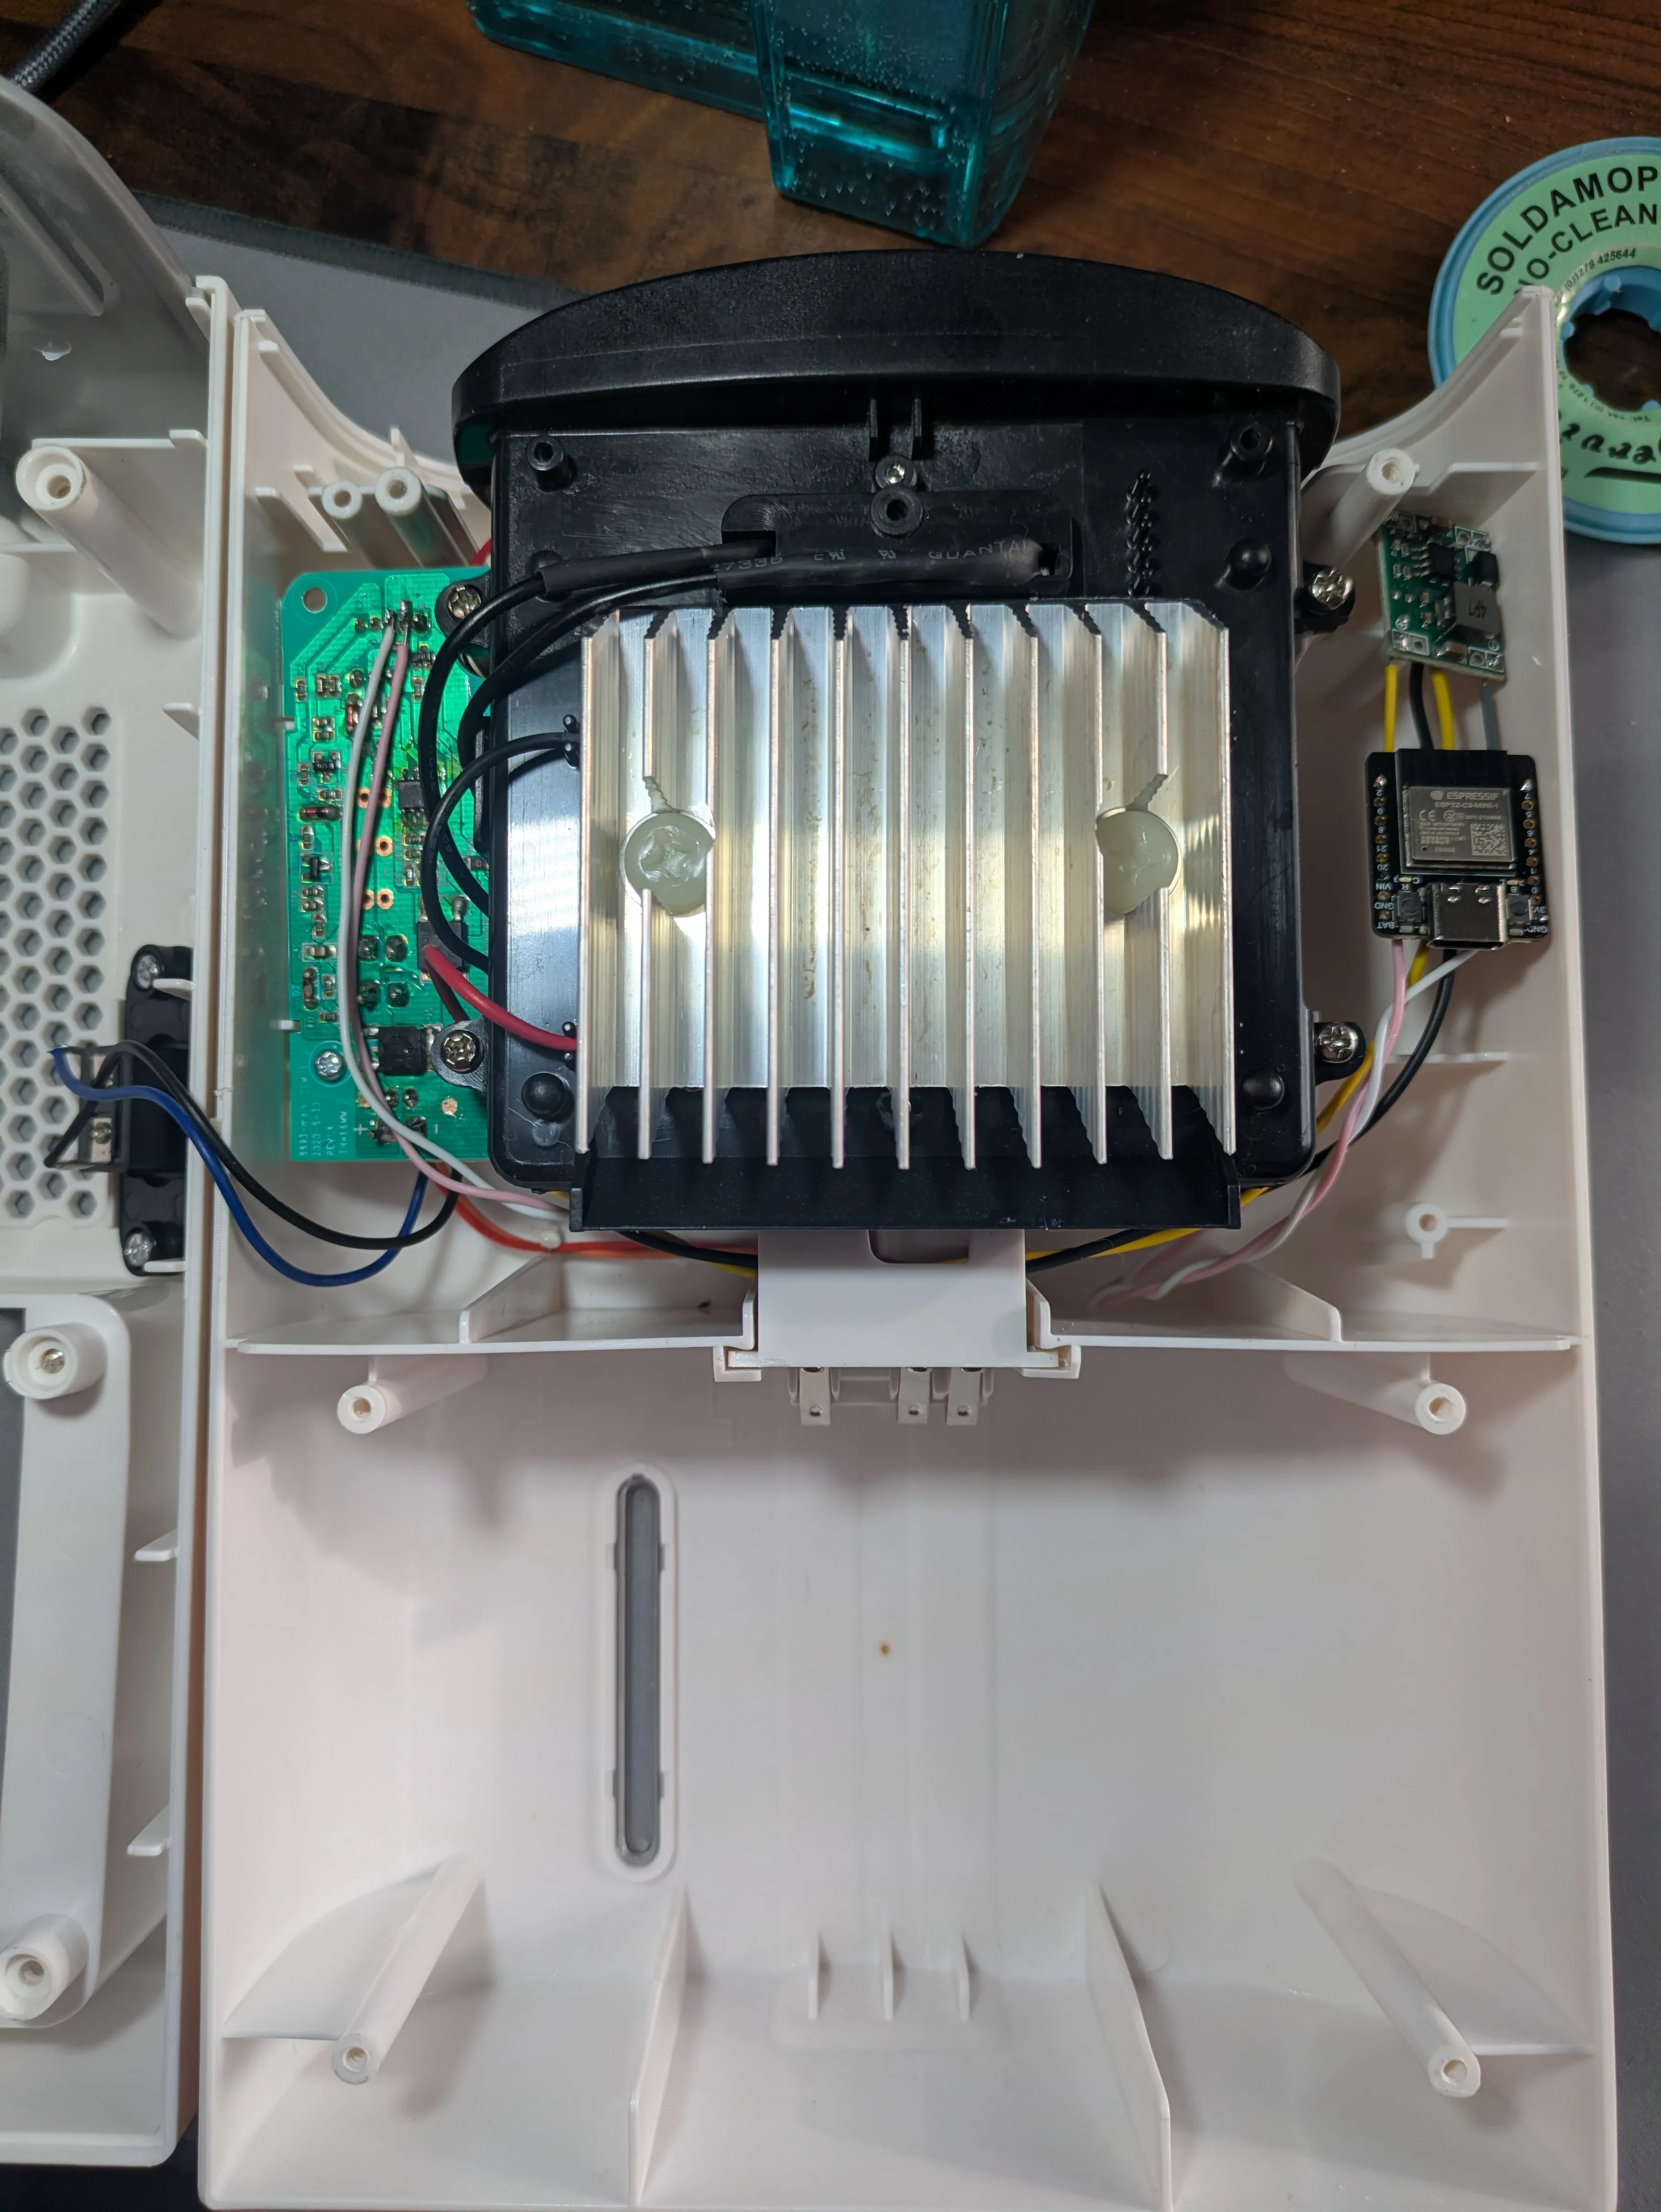
The hardware side of things took a little longer than I thought it would. There are two leds on top of the unit, one for power and one for ‘tank full’. I was assuming that the circuit would look something like the following and that I could just tap off some nice logic signals from the leds.

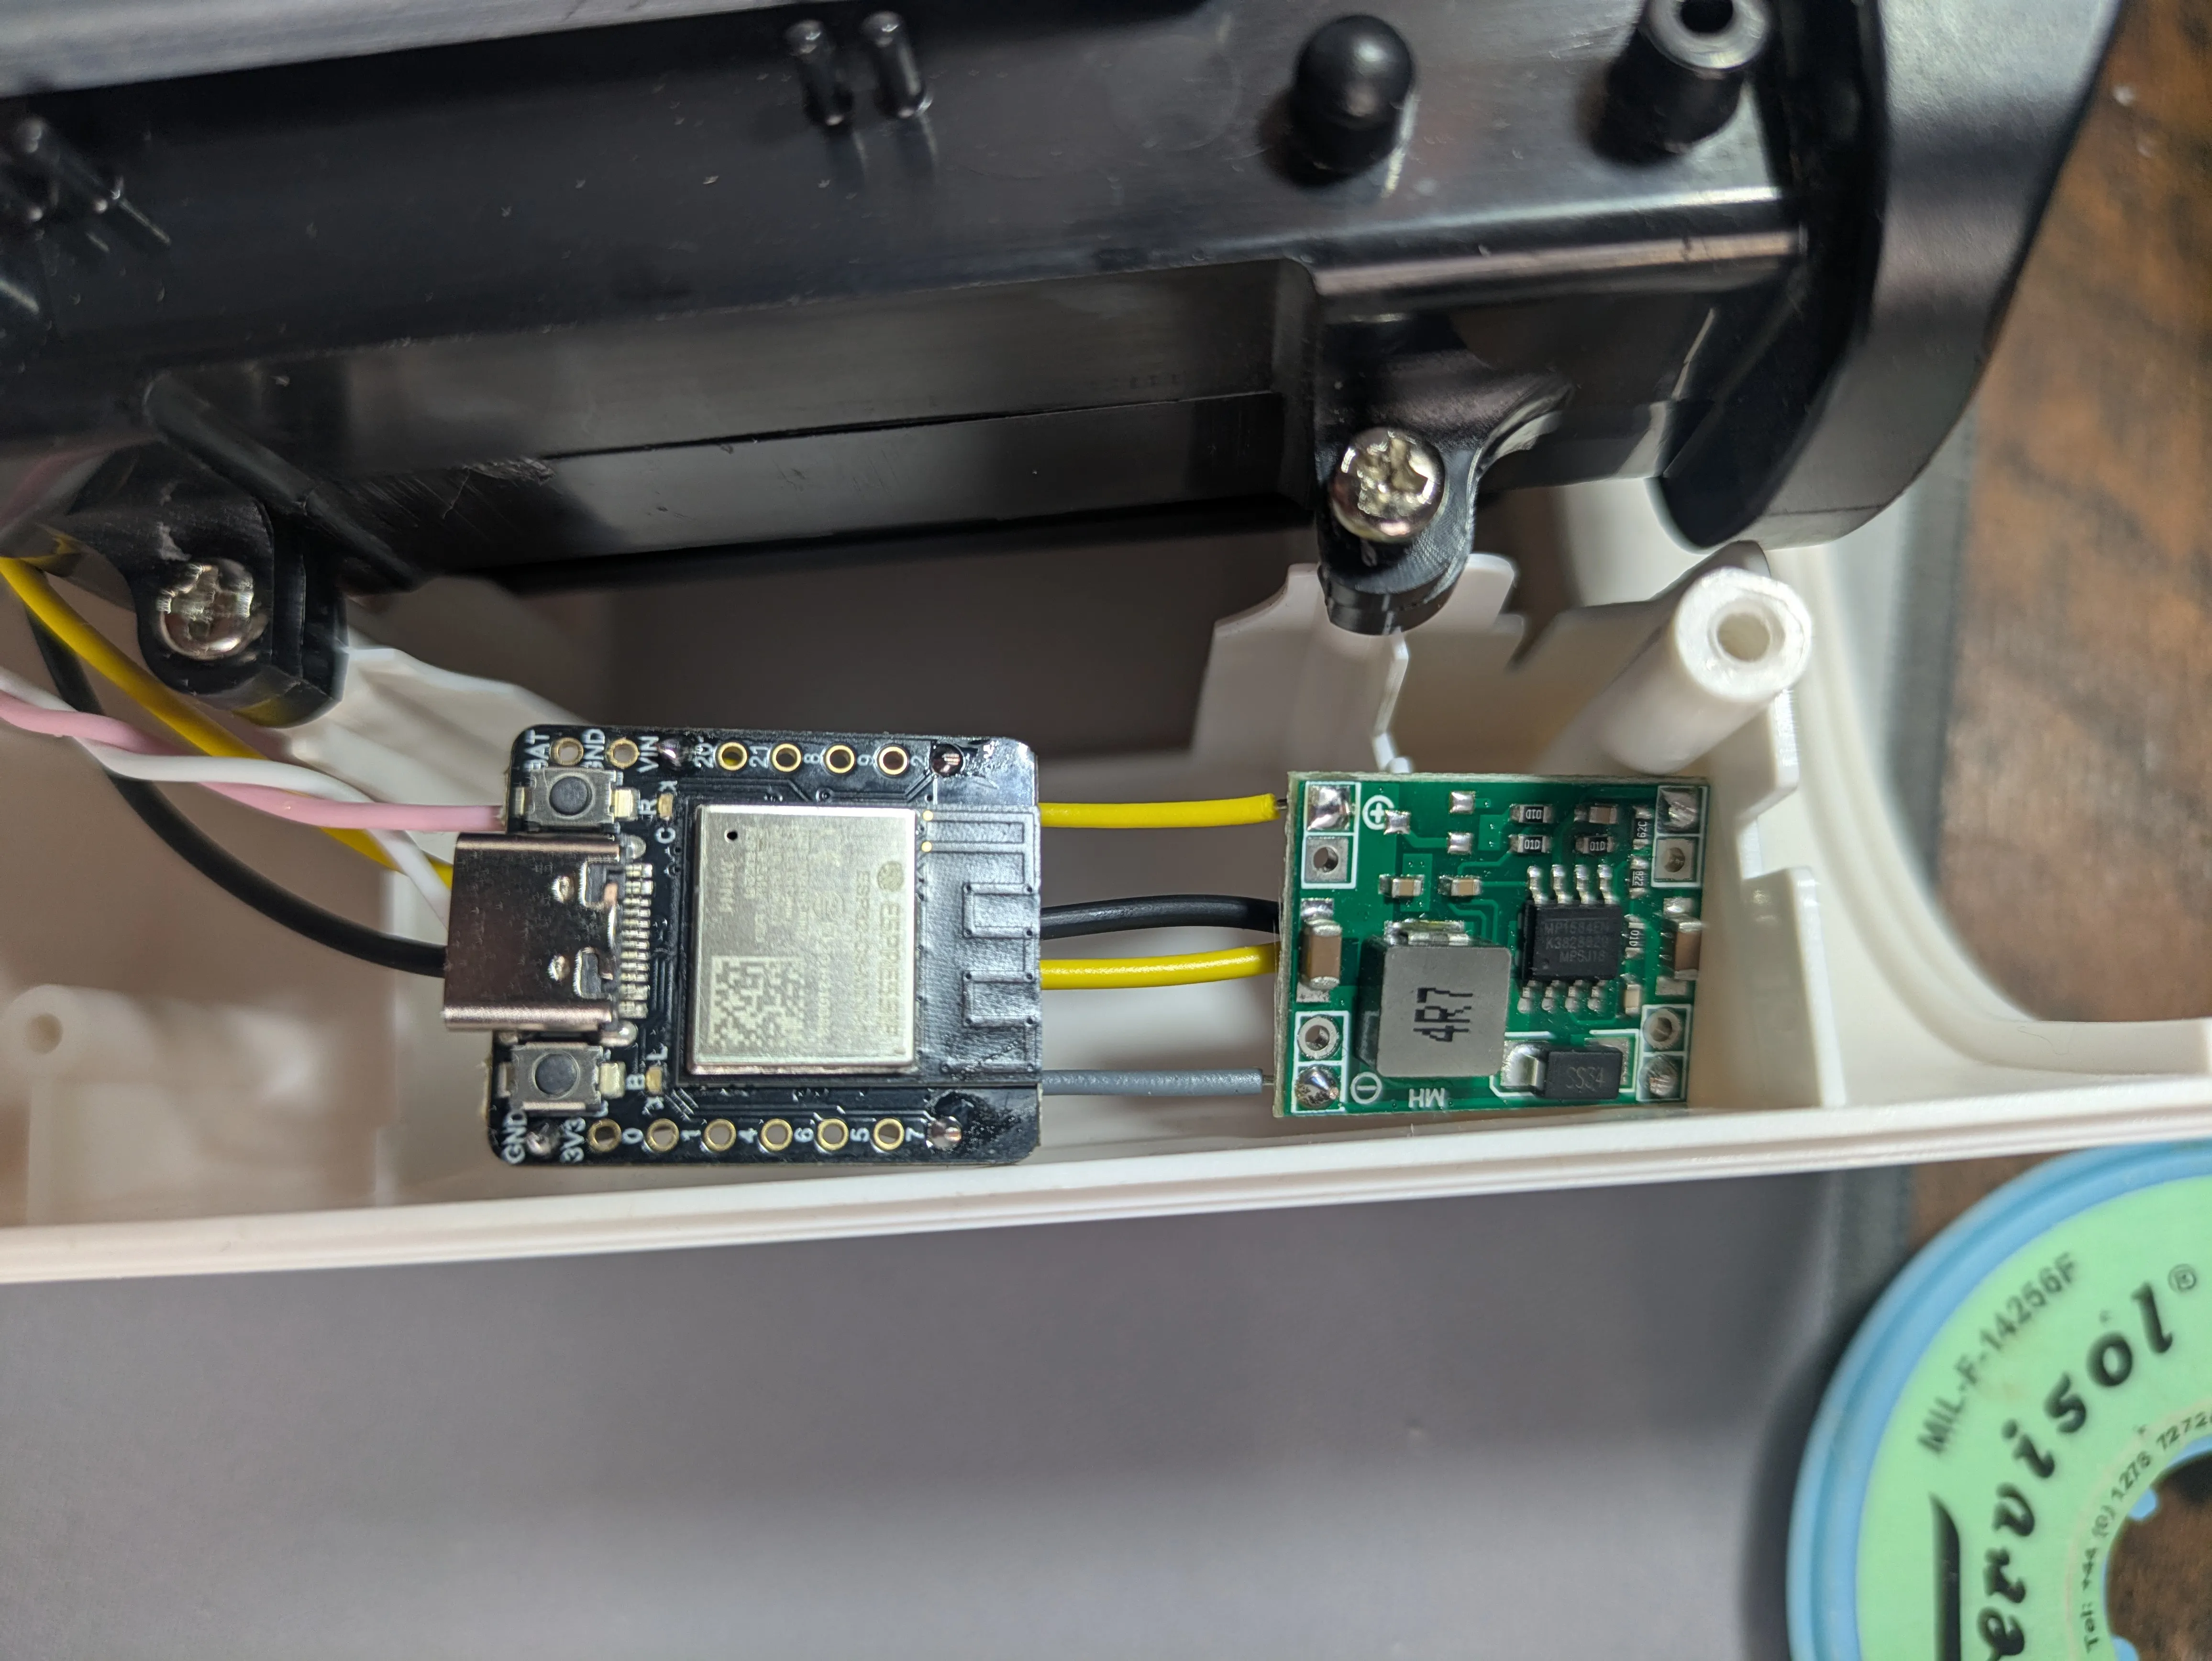
Unfortunately, that’s not how it was designed. Most of the logic is at 9v - high enough to damage my little Beetle. There wasn’t even a suitable power supply that I could use. Fortunately, I had some spare buck regulators from the same previous project that could safely take the 9v power down to 5v for the Beetle, but that still left the issue of figuring out how best to tap in to the circuit…
In the end I took inspriration from Big Clive and drew myself a schematic as I beeped out the circuit, and rummaged through online datasheets.
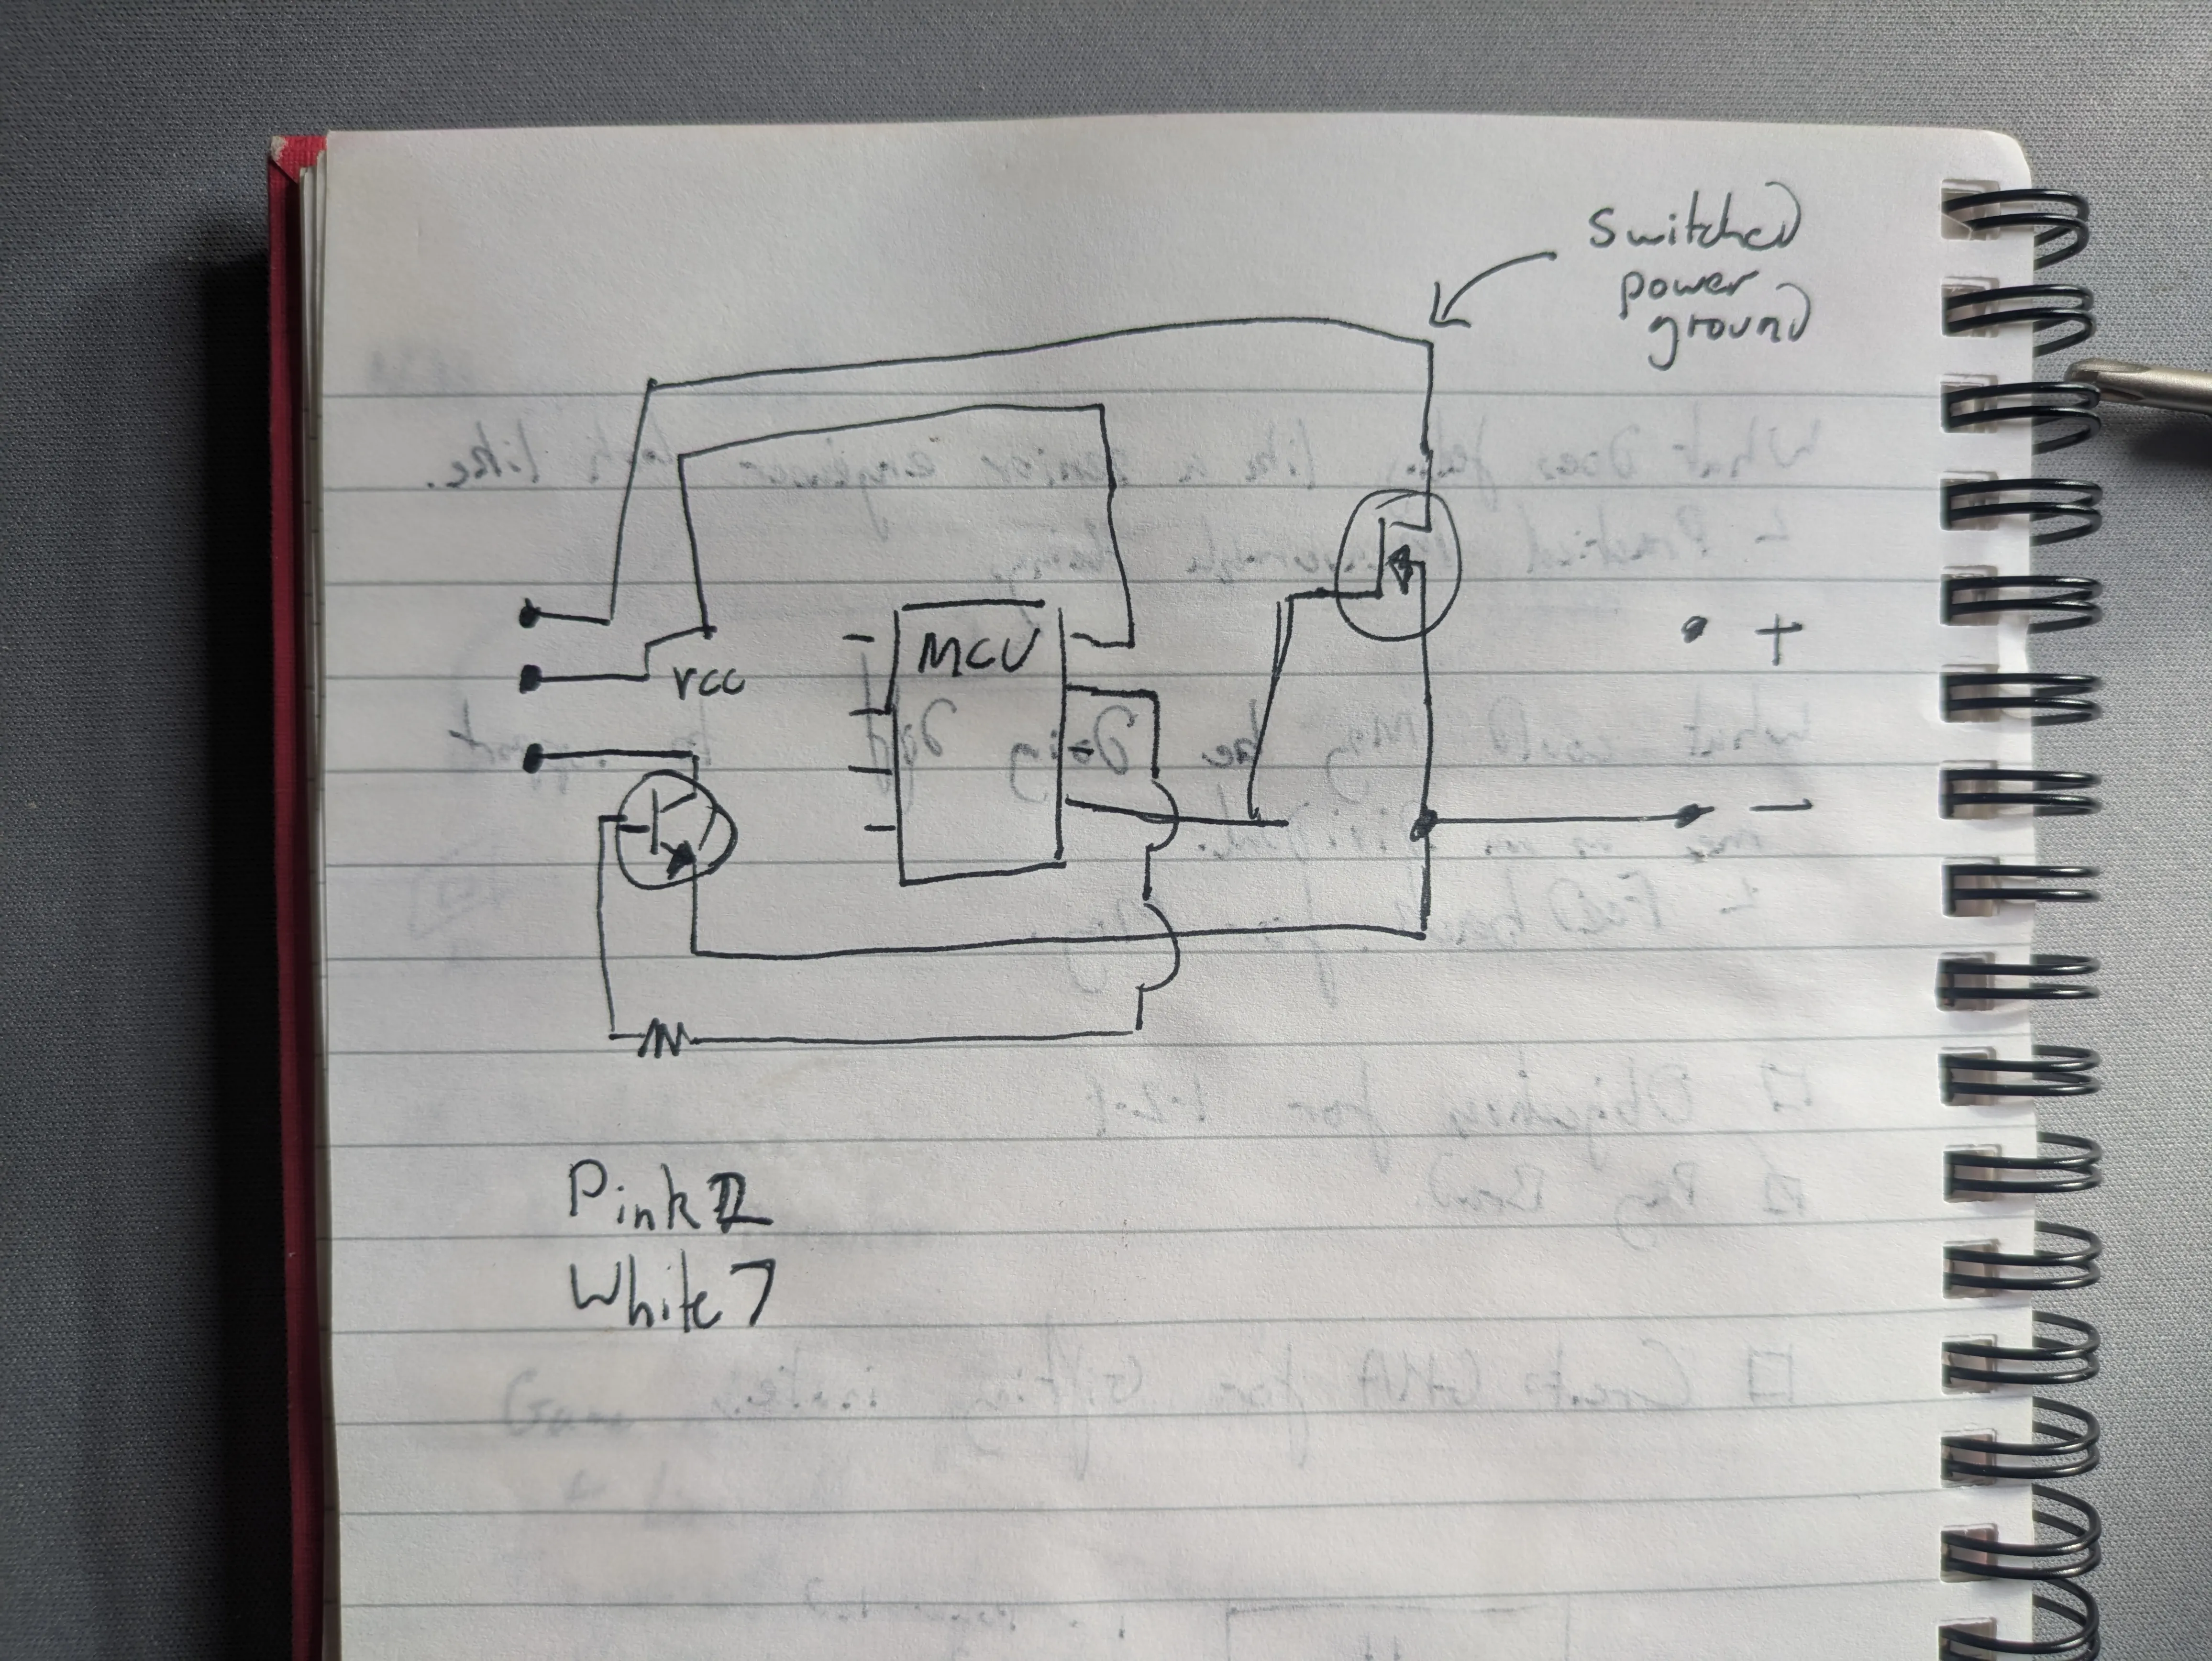
I left out a lot of the wiring that wasn’t relevant - like how the momentary switch latches the power, and how it won’t do anything unless the bucket is inserted - but eventually I understood roughly how it worked, and how I could interact with it.
The VCC output of the microcontroller was only high when the machine was running, and it was ~4.5V - a nice level for the Beetle to read. The tank full light was switched on the low side when activated. This meant that I could use a pin on the Beetle with a built-in pullup resistor to stay high normally, and be pulled to ground with the led when activated. Nice!
Software
As I mentioned earlier ESPHome makes this really super simple. The config for the Beetle is as follows (standard wifi stuff removed):
binary_sensor:
  - platform: gpio
    pin:
      number: 7
      inverted: true
      mode:
        input: true
        pullup: true
    filters:
      - delayed_on: 2s
    name: "Tank full"
  - platform: gpio
    pin: 2
    name: "Running"
That’s it. That’s all it takes for this to appear in Home Assistant
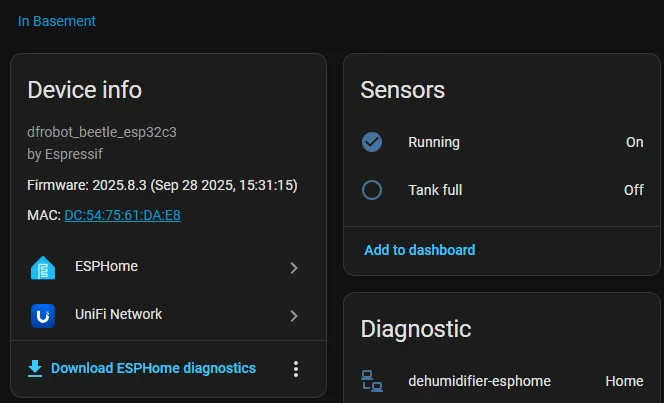
From there it’s a simple matter to set up some automations to get alerted once the bucket is full

Conclusion
It’s really wonderful to see how easy it’s become to do this sort of thing.